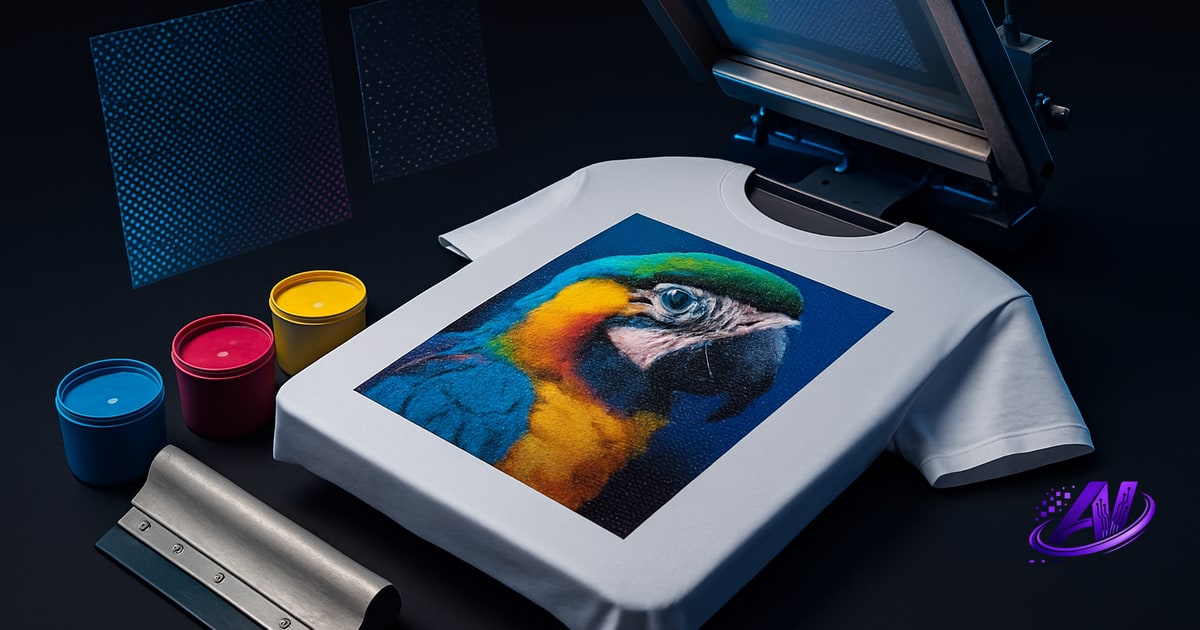
Can You Screen Print a Photo? Yes—With the Right Separation Method
You can absolutely screen print a full-color photograph on a shirt, but not the way you'd print spot-color logos. Photos contain thousands of colors—gradients, skin tones, shadows—that can't be matched with a few Pantone inks. Instead, you use simulated process: halftone screens of cyan, magenta, yellow, and black (CMYK) layered over a white underbase to optically mix and recreate the photo's color range.
The trick is breaking that continuous-tone image into printable halftone dots at the correct angles and frequencies. Each color channel becomes a separate screen, and the dots overlap to produce the illusion of smooth gradients and lifelike detail. It's more art than science—mesh count, ink opacity, press registration, and substrate color all influence the final result.
Before you even start separating, you need to confirm the file is print-ready. Low-resolution photos, banding in gradients, and ultra-fine detail will fail on press. A print readiness check flags those issues early—resolution below 300 DPI, color counts that exceed your press capacity, and whether the image needs an underbase or highlight white.
Understanding Simulated Process vs. Spot Color
Spot-color separation assigns each distinct color in a design (red, navy, white) to its own solid ink and screen. It works beautifully for logos, text, and vector art with hard edges. Simulated process, by contrast, uses a small set of halftone screens—typically CMYK plus white—to simulate the full spectrum of a photograph by mixing dots of ink.
Think of it like four-color offset printing, adapted for garments. The white underbase reflects light back through the semi-transparent halftone inks, and your eye blends cyan dots next to magenta dots into purple. The result is photo-realistic, but it demands tight registration, proper mesh selection (156–230 for most halftones), and careful ink viscosity to avoid dot gain that turns highlights muddy.
Some printers add a fifth or sixth screen—an extra highlight white to punch up bright areas, or a Pantone skin tone to warm up faces. That's where separation strategy gets creative: balancing screen count against setup cost and press time.
Step-by-Step: How to Separate a Photo for Screen Printing
Start with a high-resolution RGB image—300 DPI at final print size minimum. Anything less and you'll see pixelation or jagged edges on press. Convert the image to CMYK color mode (or let your separation software handle it). This splits the photo into cyan, magenta, yellow, and black channels.
Next, apply halftone screens to each channel. In Photoshop, that's typically Image > Mode > Bitmap after isolating each color, setting your halftone frequency (LPI) and screen angle. Standard angles are 22.5° cyan, 52.5° magenta, 67.5° yellow, 45° black—staggered to prevent moiré patterns. Your LPI depends on mesh count: 55 LPI works on 156 mesh; 65 LPI on 230 mesh. Too high and the dots clog; too low and you lose detail.
Generate a white underbase by creating a composite alpha channel or using the composite CMYK as a mask. The underbase needs to cover everywhere the halftones print, with a slight choke (1–2 pixels) to prevent white peeking out at registration shifts. Many printers flash-cure the underbase before laying down the color screens.
Finally, add trapping and adjust dot gain compensation. Wet-on-wet printing can cause inks to spread; a 10–15% dot gain adjustment keeps your midtones from going too dark. AI color separation software handles angle assignment, underbase generation, choking, and dot gain automatically—what takes an hour in Photoshop happens in seconds.
Common Photo-Separation Pitfalls (and How to Fix Them)
Moiré patterns: When halftone angles are too close, you get wavy interference lines. Always use the classic 22.5° / 45° / 52.5° / 67.5° spread, or let software calculate conflict-free angles.
Lost highlight detail: If your lightest areas are 5% dots or smaller, they won't hold on screen or transfer to the shirt. Use a highlight white screen to carry those bright spots, or adjust curves to bump the minimum dot to 10%.
Underbase bleed: A white underbase that extends beyond the color halftones creates a halo. Choke the underbase 1–2 pixels, or use an auto-trap feature to pull it inside the color footprint.
Mesh mismatch: Printing 65 LPI halftones on 110 mesh clogs the screen; printing 35 LPI on 305 mesh looks chunky. Match your LPI to roughly 4× your mesh count's thread-per-inch rating, and tension properly to avoid dot distortion.
DTF vs. Screen Printing for Photos
Direct-to-film (DTF) is tempting for photo work: print full CMYK on a film, dust with adhesive powder, cure, and heat-press. No halftone angles, no registration headaches, and fine detail survives. But DTF has a thick hand-feel, costs more per print at volume, and the white adhesive layer can yellow or crack over repeated washes.
Screen printing photos takes more setup—burning four to six screens, dialing in registration, mixing or matching inks—but the per-piece cost drops fast after the first dozen. The ink sits in the fabric (especially water-based), so it breathes better and lasts longer. For runs over 50 pieces, screen wins on margin. For one-offs or gang sheets with mixed designs, DTF wins on speed.
If you're quoting both, calculate setup vs. per-piece and let the numbers decide. An instant quote generator that compares screen setup, press time, ink cost, and DTF film + powder cost side-by-side makes the call obvious—and shows the customer why screen costs more up front but saves them money at quantity.
How AI Speeds Up Photo Separation
Manual separation in Photoshop means isolating channels, converting to bitmap four times, calculating angles, painting an underbase mask, choking it, exporting each screen as a positive, and hoping you didn't introduce a moiré. One mistake and you re-burn a screen or scrap the job.
AI color separation reads the photo, identifies underbase need, assigns conflict-free halftone angles, generates choke and trap, and exports print-ready positives—in under a minute. You still choose LPI and mesh count; the AI handles the tedious geometry and layer math. It's especially useful when a customer sends a last-minute photo edit or when you're running Profit Mode strategies: "fewest screens" might merge yellow into magenta; "best quality" might add a highlight white and a skin-tone bump.
Because it's a standalone app, you don't need a Photoshop subscription or advanced separation skills on staff. Load the photo, pick your press specs (plastisol or water-based, mesh count, dark or light garment), review the separation, and send to film. The AI also flags issues—resolution too low, gradients that will band, fine detail that will fill in—before you burn screens.
Try AI Separations free at aiseparations.com. It's a standalone Windows app with AI separation, Print Doctor file checks, instant quoting, and ink-inventory matching—no Photoshop required, $179 one-time to unlock.
Frequently asked questions
Can you screen print a full color photo?
Yes, you can screen print a full-color photo using simulated process: halftone screens of CMYK inks layered over a white underbase to optically mix and recreate the photo's color range on the garment.
How do you separate a photo for screen printing?
Convert the photo to CMYK, apply halftone screens to each color channel at staggered angles (22.5° / 45° / 52.5° / 67.5°), generate a choked white underbase, adjust for dot gain, and export each channel as a separate screen positive.
What resolution do I need to screen print a photo?
You need a minimum of 300 DPI at the final print size; anything lower will show pixelation or jagged edges on press and fail to hold fine halftone detail.
What LPI should I use for photo halftones?
Match your LPI to your mesh count: 55 LPI works on 156 mesh, 65 LPI on 230 mesh. Too high clogs the screen; too low loses photographic detail.
Do I need an underbase for photo prints?
Yes, a white underbase is essential when printing photos on dark garments—it reflects light back through the halftone inks so colors appear vibrant instead of dull or transparent.
Try it on your own artwork
AI Separations is a standalone prepress & quoting studio for screen printing & DTF — AI color separation, an instant quote, a print-readiness check, and ink matching. No Photoshop, $179 one-time, free trial.