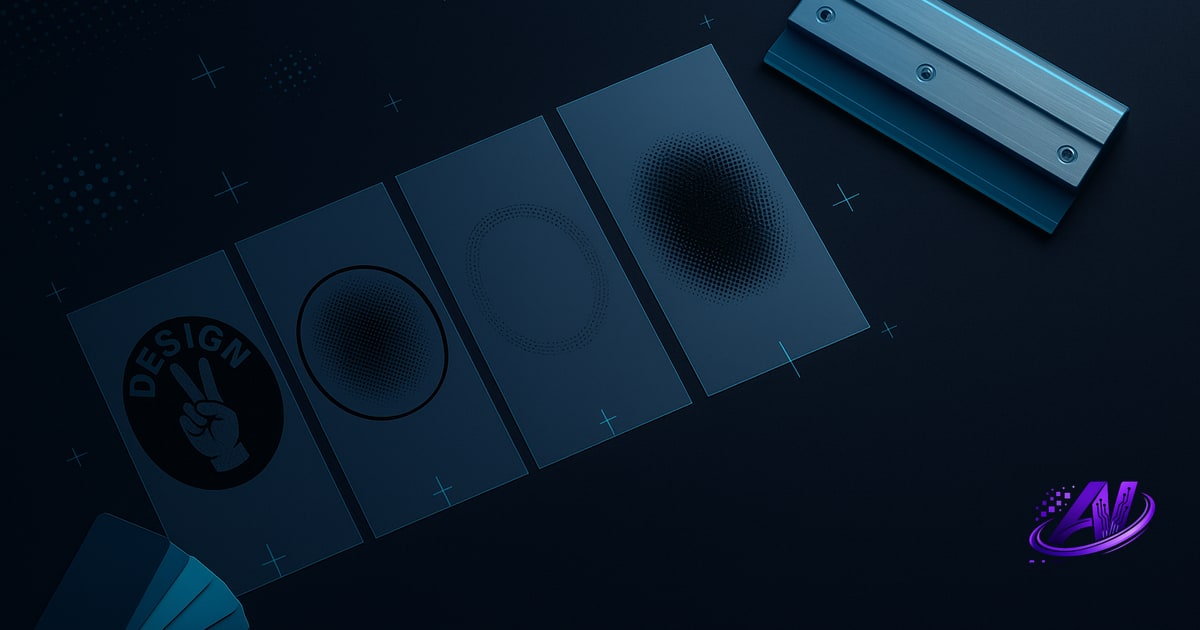
What Color Separation Actually Means
Color separation is the process of splitting full-color artwork into individual layers—one layer per screen. Each screen prints one ink color in sequence, building up the final image on the garment. Without separation, you can't print multi-color designs.
There are two main methods: spot-color separation (flat vector fills for simple artwork like logos) and simulated-process separation (halftoned channels that recreate photographs and complex gradients). Spot separations use solid ink coverage. Simulated-process uses tiny halftone dots at varying densities to blend inks optically on the shirt.
Most shops also add a white underbase on dark garments to make top colors pop, and sometimes a highlight white layer to recover brightness in light tones. Every added screen costs setup time and registration, so efficient separation balances color accuracy against screen count.
Spot-Color Separation (Simple Artwork)
Spot-color separation works for vector logos, text, and designs with distinct, flat color regions. You isolate each solid color onto its own layer, convert it to a bitmap channel, and output one positive film or screen per color.
Step-by-step in Photoshop:
- Open the vector file at final print resolution (300 DPI minimum).
- Lock each color area onto a separate layer using magic wand or pen tool selections.
- Create a new alpha channel for each color (Window → Channels).
- Fill the channel with 100% black where that ink will print, white everywhere else.
- Add white underbase: duplicate all color channels, unite the selections, expand by 1–2 px (choke/trap), and save as a new underbase channel.
- Output each channel at the line-screen your mesh can hold (typically 55–65 LPI for plastisol on 160–230 mesh).
Manual spot separation is tedious but gives you full control over trapping, chokes, and Pantone matching to your ink inventory.
Simulated-Process Separation (Full-Color & Photos)
Simulated-process (also called CMYK-sim or index separation) recreates photographs and complex gradients using halftone dots. Instead of CMYK process inks, you pick 4–8 plastisol colors that best match the dominant hues in the image, then generate halftone screens that layer those inks to simulate the original tones.
Manual workflow in Photoshop:
- Convert the RGB image to indexed color mode (Image → Mode → Indexed Color), selecting 6–8 colors that represent the image palette.
- Switch back to RGB, then manually separate each indexed hue into its own channel.
- Apply a halftone screen (Filter → Pixelate → Color Halftone or Bitmap mode at 45–55 LPI, 22.5° angle offsets per screen).
- Build a white underbase by combining all color masks, expanding slightly, and feathering edges to avoid a halo.
- Add highlight white in the lightest tones to lift brightness on skin, highlights, and light fabrics.
- Check for dot gain: fine details below 5–10% density may clog or disappear on press.
This method demands experience with halftone angles, dot gain compensation, and ink-order planning. Most printers either learn it over years or rely on AI color separation software that automates the channel math and halftone generation in seconds.
Pre-Flight: Check Print Readiness Before You Separate
Separating a file that isn't print-ready wastes time and screens. Always run a print readiness check before you build channels:
- Resolution: Minimum 300 DPI at final print size. Upscaled or web images will pixelate and show banding in halftones.
- Color count: Full RGB images may index to 12+ colors. Decide early if you'll merge similar hues or accept a high screen count (and higher cost).
- Gradients and banding: Smooth gradients need enough bit depth and halftone LPI to avoid visible steps.
- Underbase coverage: Dark garments need a solid white base; light garments may only need spot underbase or none at all.
- DTF vs screen suitability: Designs with ultra-fine detail or 8+ colors may be cheaper and faster on DTF. Check gang-sheet economics before committing to screens.
Catching these issues early prevents reprints, customer complaints, and wasted film. Automated tools flag most of these problems in a single scan, saving the manual checklist.
Choosing Your Separation Strategy (Speed, Cost, Quality)
Not every job deserves a hand-tuned 8-color sim-process separation. Smart shops pick the separation method that fits the job's budget, quantity, and quality expectations.
Fewest screens (budget jobs): Index to 3–4 colors plus underbase. Faster setup, lower cost, acceptable for event tees and high-volume runs where speed beats perfection.
Fastest press time: Optimize ink order and minimize flash-cure steps. Sometimes adding one screen (a highlight white or split underbase) cuts total press time by eliminating a flash.
Best quality (premium or photo-realism): 6–8 color sim-process with highlight white, tight registration, fine halftone LPI (up to 65 if your mesh and press support it), and custom ink mixing to match the original palette.
Profit mode: Reverse-engineer from the quoted price. If the customer approved $8/shirt, calculate how many screens and press minutes you can afford, then separate to that ceiling. Tools that offer multiple separation strategies let you compare cost vs quality in real time and pick the winner before you burn screens.
Automated Separation: AI vs Manual Photoshop
Manual separation in Photoshop gives you absolute control, but it's slow—20 to 60 minutes per design once you know what you're doing, longer if you're learning. Every indexed-color tweak, halftone test, and underbase mask is a decision point.
AI color separation software analyzes the image, picks the optimal ink palette, generates halftone channels, builds underbase and highlight white, applies trapping, and exports print-ready positives in under a minute. No Photoshop required. You upload the design, choose a separation strategy (fewest screens, best quality, etc.), and the AI handles channel math, dot gain compensation, and angle offsets automatically.
Free and manual methods still work—and every printer should understand the fundamentals—but automation pays for itself fast when you're quoting 10+ jobs a week or running a single-operator shop. The $179 one-time cost of a tool like AI Separations breaks even after about 15–20 designs compared to hourly labor on manual seps.
When speed and consistency matter more than hands-on channel tweaking, AI separation is the practical choice. When you need to match a specific Pantone bridge, hand-pull a tricky underbase, or you're separating one hero design for a trade-show sample, manual Photoshop still has a place.
Output, Film, and Burning Screens
Once your separations are done, each channel becomes a positive film (or inkjet transparency) that you'll use to burn a screen. Print each layer at 100% black on clear film, tape it to the emulsion side of your coated screen, and expose under UV.
Check your halftone dot size against your mesh count: 55 LPI works on 160 mesh; 65 LPI needs 200–230 mesh. Too fine a dot on coarse mesh causes clogging and pinholes. Too coarse a screen with fine dots loses detail.
Label every film with the ink color, print order, and mesh count. Run a test print on scrap fabric to verify registration, underbase coverage, and color sequence before committing to the full run. If the underbase is too thin or a highlight white floods detail, go back and adjust the separation—easier to fix now than after 100 shirts.
Good separation is only half the win. The other half is tight registration, correct mesh, proper ink viscosity, and clean squeegee technique. But without accurate seps, even a perfect press run will look wrong.
Frequently asked questions
How to do color separation for screen printing?
Separate artwork into individual print layers—one per screen—using either spot-color (flat fills for logos) or simulated-process (halftones for photos). In Photoshop, create alpha channels for each ink, add underbase and highlight white, apply halftone screens, and output positives at the correct LPI for your mesh.
How do you separate colors for screen printing?
Isolate each ink color onto its own channel or layer, convert to halftone dots if needed, generate a white underbase for dark garments, apply trapping to prevent gaps, and export each channel as a black-on-clear positive film for screen burning.
What is the difference between spot-color and simulated-process separation?
Spot-color uses solid ink fills for simple vector artwork with distinct flat colors, while simulated-process uses halftone dots to blend 4–8 plastisol inks and recreate photographs or complex gradients on press.
How many screens do I need for a full-color design?
Simulated-process separations typically use 4–8 screens (including underbase and highlight white), depending on the image complexity and your quality vs cost priorities. Spot-color designs use one screen per solid color, plus underbase if printing on dark garments.
Can I do color separation without Photoshop?
Yes—standalone AI color separation tools generate channels, halftones, underbase, and trapping automatically without requiring Photoshop or an Adobe subscription, often completing separations in under a minute.
Try it on your own artwork
AI Separations is a standalone prepress & quoting studio for screen printing & DTF — AI color separation, an instant quote, a print-readiness check, and ink matching. No Photoshop, $179 one-time, free trial.