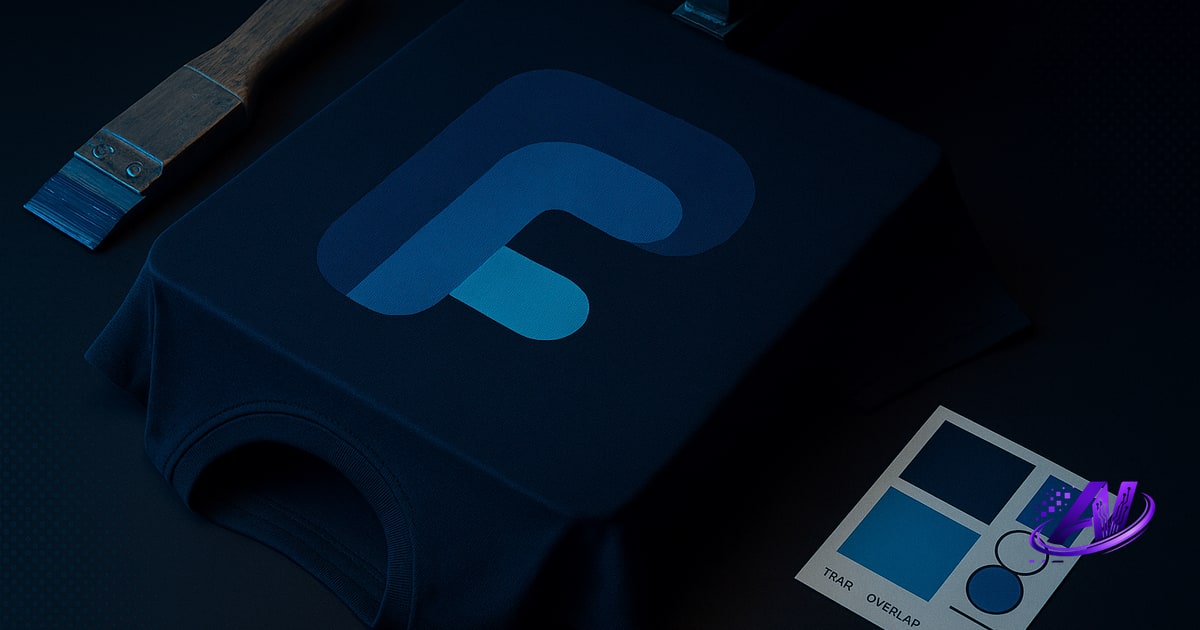
What Choke and Trap Actually Mean
Choke means shrinking a color layer inward, making it slightly smaller. Trap means expanding a color layer outward, making it slightly larger. Both techniques create deliberate overlap between adjacent colors so that tiny registration shifts on press—half a millimeter, one screen thread—don't leave a white gap or halo where the shirt shows through.
In most cases you'll trap the darker color under the lighter one. The dark spreads slightly beyond its edge so that if the light color shifts, dark ink still meets the edge. You rarely see the trap because the top layer hides it. Choking the lighter color inward achieves the same overlap from the opposite direction; the terms are mirror images of the same fix.
Registration isn't perfect. Screens stretch, platens shift, and fingers nudge a frame. Trap is the insurance policy that turns a visible defect into an invisible seam.
Why You See White Halos (and How Trap Fixes Them)
A white halo appears when two spot colors sit edge-to-edge in your artwork with zero overlap, and the press misregisters by even 0.3 mm. The gap exposes the shirt. It looks sloppy, and customers notice.
Manual presses are more prone to this because each screen is positioned by hand and held by off-contact tension. Automatics hold tighter tolerances but still drift across long runs or when mesh loosens. Dark shirts show white gaps worst; light shirts show dark underlayers if you overlap incorrectly.
Trap solves it by giving you a buffer zone. If red sits next to black, you expand the black outward by 0.5 mm so it reaches under the red. Now the red can shift left, right, up, or down by that margin and still print clean. No halo, no reprints.
How Much Trap Do You Need for Screen Printing?
Most shops trap 0.5–1.0 mm (roughly 1.5–3 points in design software) for manual presses, and 0.25–0.5 mm for automatic presses. The exact number depends on your press type, mesh tension, operator skill, and how fine the design detail is.
Loose or worn equipment needs more trap. Tight, well-maintained automatics can get away with less. If you're printing fine text or small highlights, too much trap will choke out detail or make edges look thick and muddy. If you're printing bold graphics with simple shapes, you can afford a generous trap and never worry about gaps.
Start conservative—0.5 mm is a safe default—and adjust based on what comes off your press. If you still see halos, add another 0.25 mm. If edges look blurry or colors bleed together, pull back. Experience beats theory every time.
When to Use Choke vs. Trap (and Which Color Gets It)
The general rule: trap the darker color outward under the lighter one. Spread black under red, navy under white, brown under yellow. The darker ink hides underneath, so even if the lighter layer shifts, you see the intended top color at the edge—not a dark shadow or halo.
Choking the lighter color inward accomplishes the same overlap but from the opposite side. Some separators prefer this workflow in Photoshop or Illustrator because shrinking a layer is faster than expanding and masking. The result is identical: overlap where it matters, hidden seam, clean print.
For underbase white, you almost always trap (expand) the white slightly beyond the top colors so that if the color screen shifts, it still lands fully on white ink. This prevents color mixing with the shirt fabric and keeps colors vivid. AI Separations handles this automatically in every simulated-process separation, expanding the underbase and choking or trapping spot layers based on stacking order.
How to Add Trap in Your Workflow
If you separate manually in Photoshop, trap means duplicating a layer, expanding or contracting the selection by your chosen pixel amount (Image > Adjustments > Maximum/Minimum, or Select > Modify > Expand/Contract), then filling or masking. Repeat for every edge that needs overlap. It's tedious, easy to miss, and hard to proof until you print.
Vector software like Illustrator and CorelDRAW have stroke-offset or contour tools that let you build trap into spot-color artwork before you separate. This works well for simple logos but breaks down with gradients, textures, or simulated process where every halftone edge needs trapping.
A print-readiness check should flag designs that have tight tolerances, fine detail, or edge-to-edge colors that will show registration problems. Catching it before you burn screens saves time and film.
AI Separations builds choke and trap into every separation automatically. The app analyzes layer edges, detects which colors sit adjacent, and applies the right amount of overlap based on your press type and the design's detail level. No manual Photoshop math, no missed edges. The AI Print Doctor also flags designs where standard trap might not be enough—ultra-fine text, tight gradients, or high-frequency halftones that need special handling.
Common Trapping Mistakes (and How to Avoid Them)
Over-trapping fine detail. If you apply 1 mm of trap to 6-point text or a thin highlight line, you'll choke out the detail entirely or make it look blobby. Use less trap on intricate areas, or simplify the design.
Trapping in the wrong direction. Expanding a light color outward creates a visible dark halo if it shifts. Always trap dark under light, or choke light inward, so the top layer hides the seam.
Forgetting to trap the underbase. If your white underbase is exactly the size of your top colors, any shift exposes shirt fabric and dulls the print. Extend white 0.5–1 mm beyond color edges as standard practice.
Inconsistent trap across screens. If you trap one color pair but not another, you'll get halos in some areas and clean edges elsewhere. Apply the same trap tolerance to every edge in the job for uniform results.
Try AI Separations Free
AI Separations is a standalone Windows app that handles choke, trap, underbase spread, and highlight white automatically in every separation—no Photoshop, no manual layer math. The AI Print Doctor flags designs with registration risk before you burn screens, and the Instant Quote tool prices your job with setup, press time, and profit margin built in. $179 one-time to unlock, and you can try it free at aiseparations.com.
Frequently asked questions
What is choke and trap in screen printing?
Choke shrinks a color layer inward (making it smaller) while trap expands a color layer outward (making it larger) to create deliberate overlap between adjacent colors, preventing white gaps or halos when screens misregister by fractions of a millimeter on press.
How much trap do you need for screen printing?
Most shops use 0.5–1.0 mm (about 1.5–3 points) of trap for manual presses and 0.25–0.5 mm for automatic presses; the exact amount depends on press type, mesh tension, operator skill, and how fine the design detail is.
Which color do you trap in screen printing?
You typically trap the darker color outward under the lighter one so the top layer hides the overlap; this prevents visible halos if registration shifts, because the intended color still appears at the edge.
Do you need trap on every screen-print job?
Any job with adjacent colors that don't naturally overlap needs trap; single-color prints and designs where all colors share a common underbase are less critical, but trap is cheap insurance against registration defects on press.
Can you add trap after separations are done?
Yes, but it's tedious—you have to go back into each film or screen file, expand or contract edges manually, and re-output; it's faster and more accurate to build trap into the separation workflow from the start.
Try it on your own artwork
AI Separations is a standalone prepress & quoting studio for screen printing & DTF — AI color separation, an instant quote, a print-readiness check, and ink matching. No Photoshop, $179 one-time, free trial.